
How to Change WordPress Permalinks Without Breaking Your Site
Learn how to change your WordPress permalinks effectively without breaking your site or Google Ranking.
WordPress permalinks are the permanent URLs to your posts, pages, and other website content. They play a crucial role in your site’s structure and SEO. This guide will help you change WordPress permalinks with minimal impact on your site’s functionality and search engine rankings.
Get the Best Updates on SaaS, Tech, and AI
Understanding WordPress Permalinks
What are WordPress Permalinks?
Permalinks, short for “permanent links,” are the complete URLs used by users and search engines to access specific content on your site. A typical WordPress permalink consists of your domain name followed by a slash and a post or page slug.
Importance of Permalinks in SEO
Permalinks are essential for SEO as they convey important information about the page’s content. A well-structured permalink can enhance user experience and search engine optimization by clearly and concisely describing the page’s content.
Reasons for Changing Permalinks
Several scenarios warrant a change in your WordPress permalink structure:


- SEO Improvement: Changing to a more SEO-friendly permalink structure can enhance your site’s visibility.
- Site Rebranding: Changing your site’s focus or branding may require permalink updates.
- Updating from Default Settings: Older WordPress installations might use less optimal default settings that need updating.
How to Change Permalinks in WordPress
Step 1: Backup Your Site
Always start by backing up your entire WordPress site. This ensures that you can restore it to its original state in case of any issues.
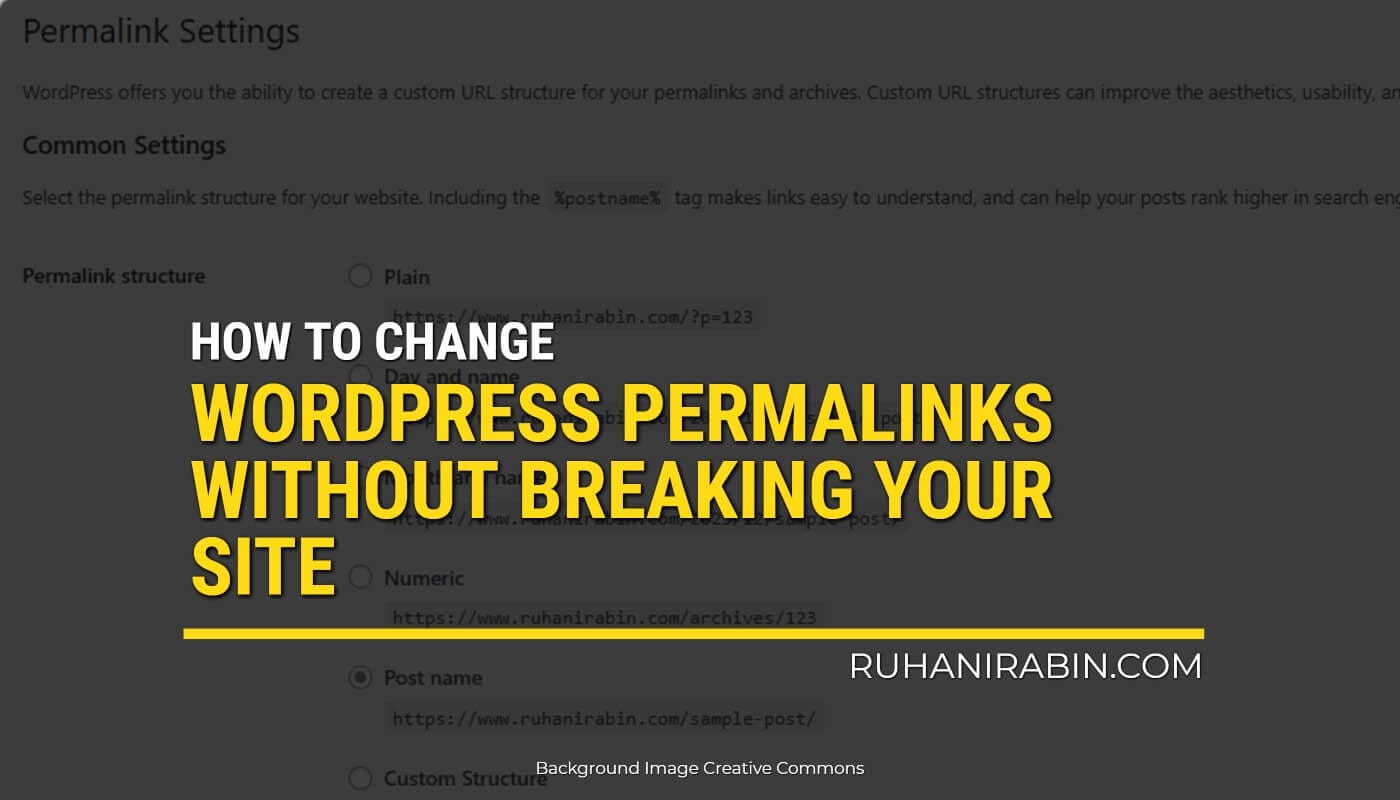
Step 2: Choosing a New Permalink Structure
Go to your WordPress dashboard and navigate Settings → Permalinks to choose a new structure. You can select from several predefined structures or create a custom permalink structure.
Recommended Structure: https://www.yourdomain.com/%postname%/

Step 3: Implement 301 Redirects
After changing the permalink structure, set up 301 redirects. This redirects traffic from the old URLs to the new ones, maintaining your SEO ranking and preventing 404 errors.
Here is how you can implement the .htaccess code for Apache and LiteSpeed servers.
# Custom redirect for old permalink structure
RedirectMatch permanent ^/[0-9]{4}/[0-9]{2}/[0-9]{2}/([a-z0-9-/]+) https://www.yourdomain.com/$1

# BEGIN WordPress
...existing WordPress rules...
# END WordPress
NOTES:
- Replace
yourdomain.com: Ensure you replaceyourdomain.comit with your actual domain name. - Test the Redirect: After saving the changes, test the redirect by visiting an old URL format to see if it correctly redirects to the new format.
- Monitor for Errors: Check your website for any 404 errors or issues arising after implementing the redirect. You can use tools like Google Search Console to monitor website health.
- Update Permalinks in WordPress: If you haven’t already, update the permalink structure in your WordPress admin area under Settings > Permalinks to match your new desired structure.
- Clear Cache: If you’re using a caching plugin or your hosting provides caching, clear the cache to ensure the changes are reflected immediately.
Using Redirect Plugins
Plugins like Simple 301 Redirects or Redirection can help automate the process of creating 301 redirects.
Best Practices for Permalink Changes
- Test on a Staging Site: Before applying changes to your live site, test on a staging environment.
- Update Internal Links: Manually check and update internal links to reflect the new permalink structure.
- Monitor for 404 Errors: After updating, monitor your site for 404 errors and address them promptly.
Frequently Asked Questions
Q1: Will changing permalinks affect my SEO?
A: Initially, you may see a slight fluctuation in rankings, but using 301 redirects minimizes negative SEO impacts.
Q2: Can I revert to my old permalink structure?
A: Yes, you can revert to the old structure, but it’s advisable to stick to a single structure once chosen.
Q3: Are there any risks in changing permalinks?
A: The main risks involve potential 404 errors and temporary SEO impacts, which can be mitigated with proper planning and redirects.
Conclusion
Changing your WordPress permalinks can seem daunting, but with careful planning and execution, it can be done smoothly. Always back up your site, choose the appropriate permalink structure, implement 301 redirects, and monitor the site post-change.
FTC Disclosure: The pages you visit may have external affiliate links that may result in me getting a commission if you decide to buy the mentioned product. It gives a little encouragement to a smaller content creator like myself.
15 responses to “How to Change WordPress Permalinks Without Breaking Your Site”